II. Unboxing Beambox
II. Unboxing Beambox
Before unboxing, kindly make sure you have read the "Safety Precautions".
It is important that you understand how to operate the machine safely, we know it's boring, and that's usually how important things are, so kindly make sure you read the"Safety Precautions" before unboxing.
Let's get started.
1. Unboxing
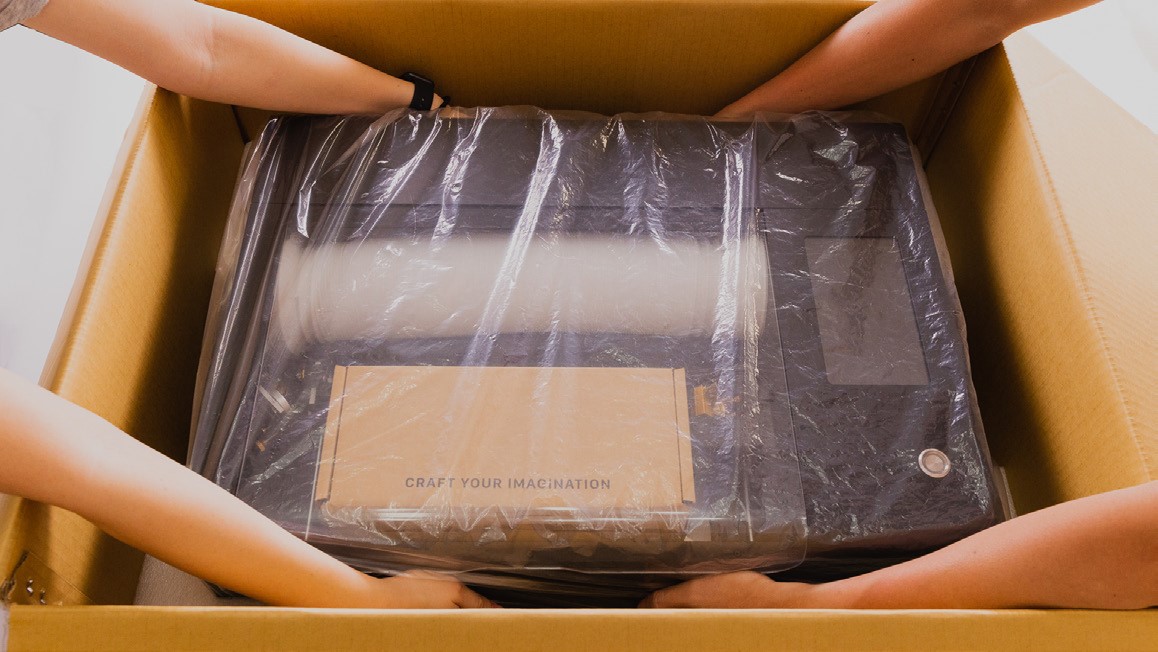
1.1. Place the box on the floor and unseal the box.
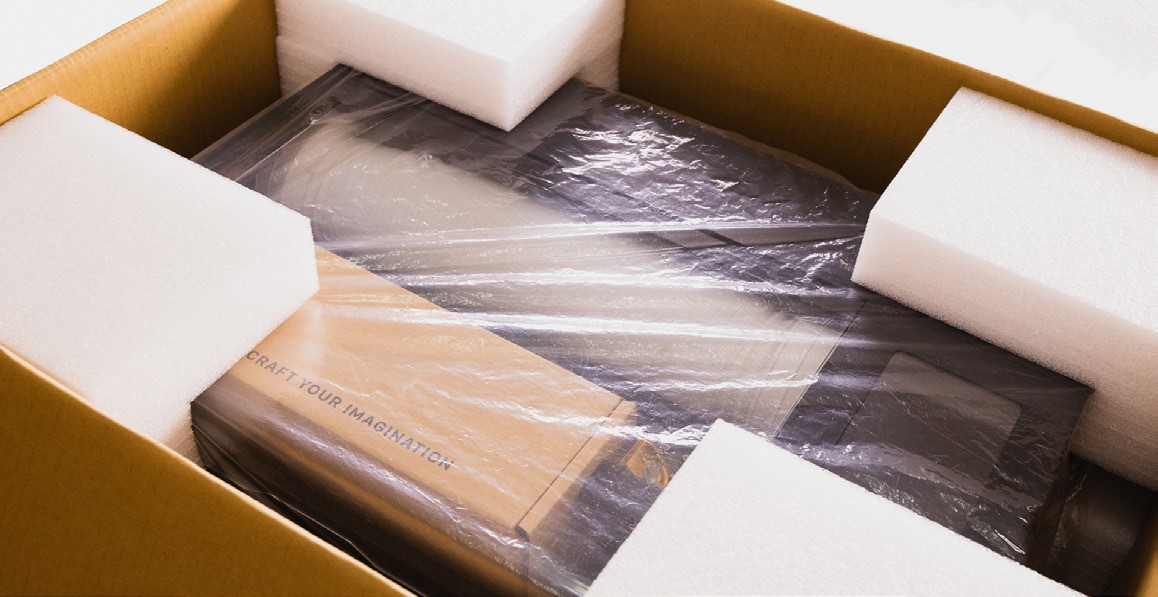
1.2. Remove the cushions on the four corners and take out the machine.
Have two people lift the unit out of the box. Keep the packaging in case of transportation in the future.
1.3. Open the front door and take out the duct.
Remove the foam on the air pump then take out the accessory box.
1.4. In the accessory box are
① Wi-Fi dongle
② Lubricant
③ Duct clamp
④ Double-sided tape
⑤ Power cord
⑥ Small wrench
⑦ Magnets
⑧ Dampers
⑨ Washers
⑩ Nuts
1.5. Front view:
① Focus probe
② Honeycomb platform
③ Level adjustment knob
④ Touch panel
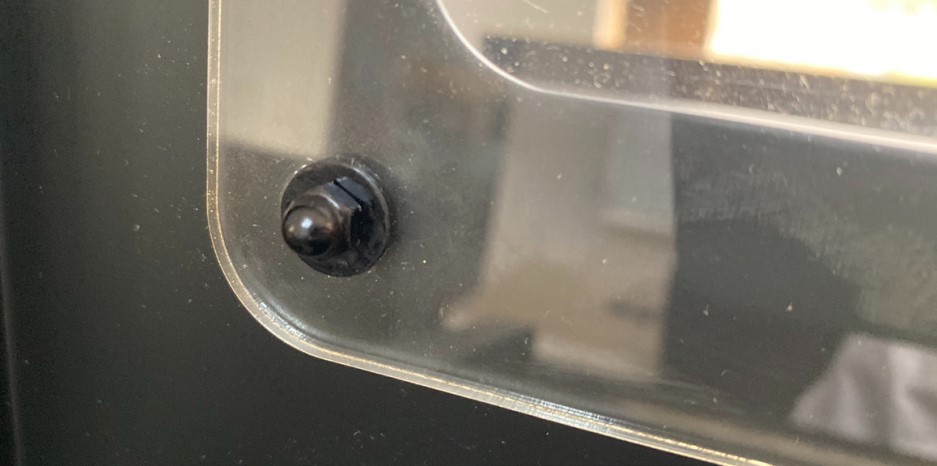
⑤ Power button

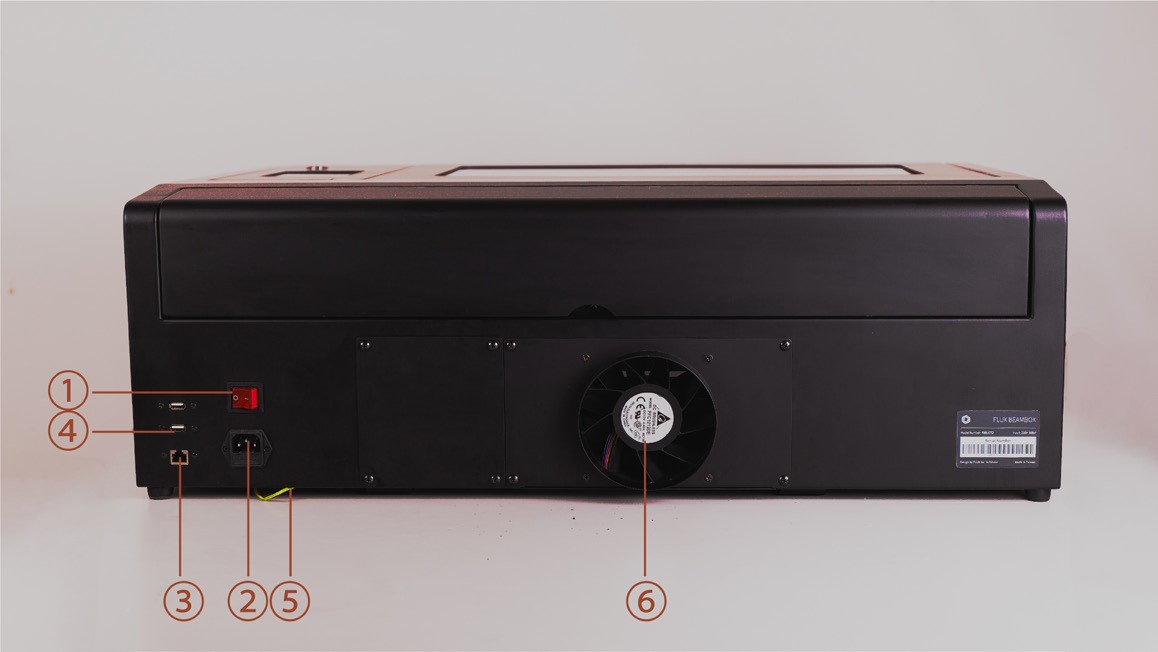
1.6. Rear view:
① Main switch
② Power Inlet
③ Ethernet port
④ USB port
⑤ Grounding cable
⑥ Exhaust fan
2. Installation
Video Instruction
The following is step-by-step instruction.
2.1. Installing the Window
Peel off the cover paper on both side of the acrylic window and install the window with one
washer and one nut on each bolt.
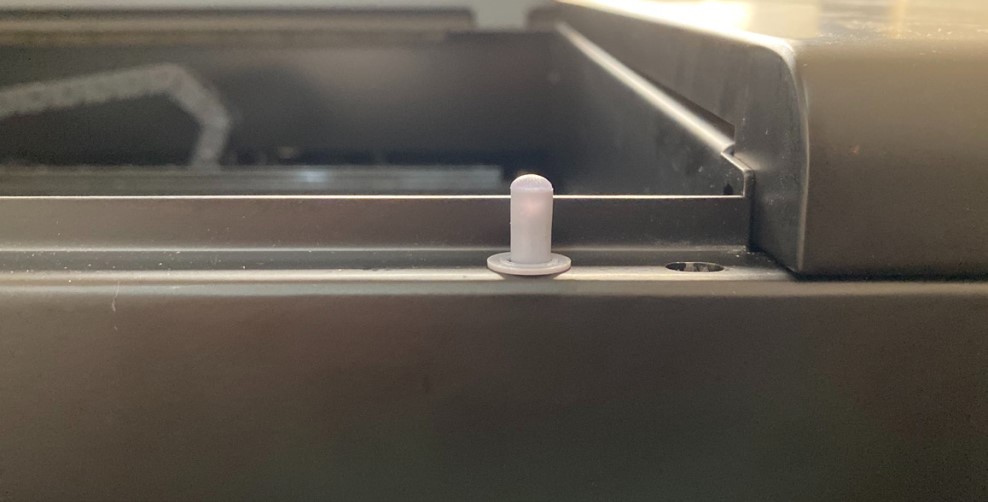
2.2. Installing the Damper
Insert two damper sticks to the holes on the edge of the machine.
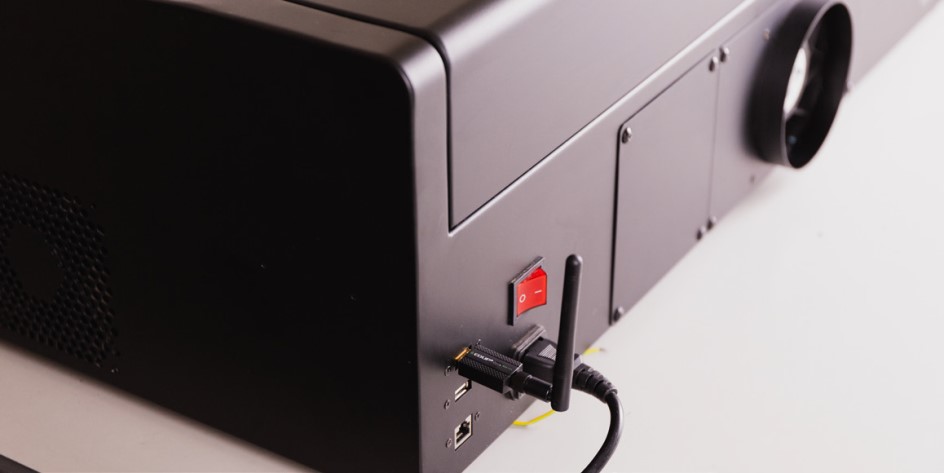
2.3. Installing the Wi-Fi and Power Cord
Plug in the power cord to the power inlet of the machine and the wall socket as well. Plug in the
Wi-Fi dongle to the USB port on the back. Bend the antenna upward for better signal.
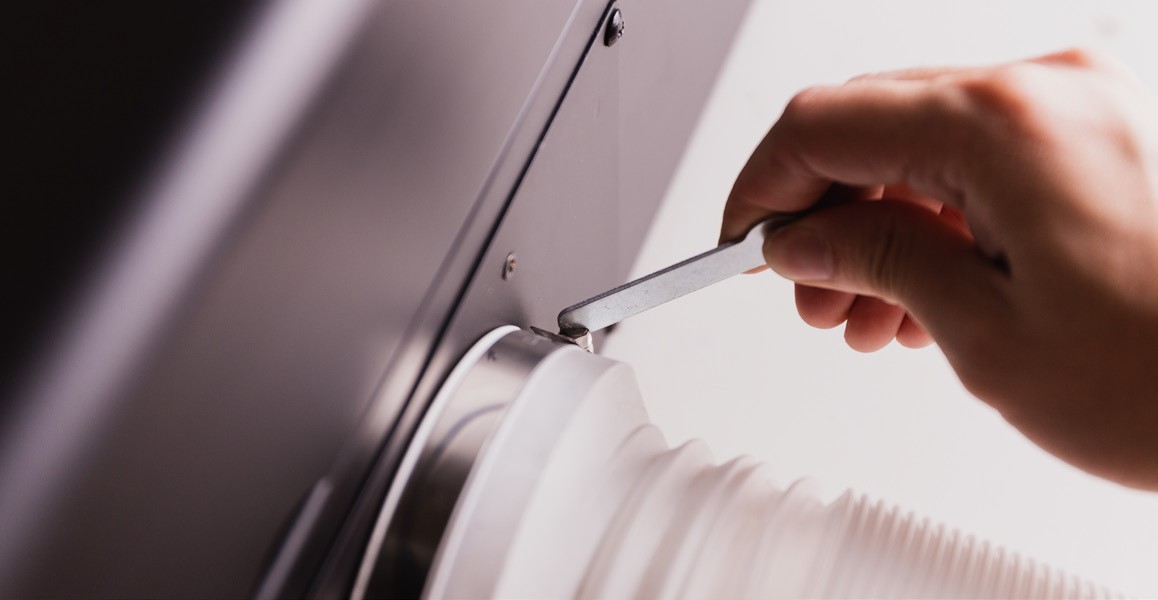
2.4. Installing the Ventilation Duct
Match the duct clamp to the bigger end of the duct then connect it to the exhaust fan outlet.
Tighten the clamp using the little wrench by screwing clockwise.
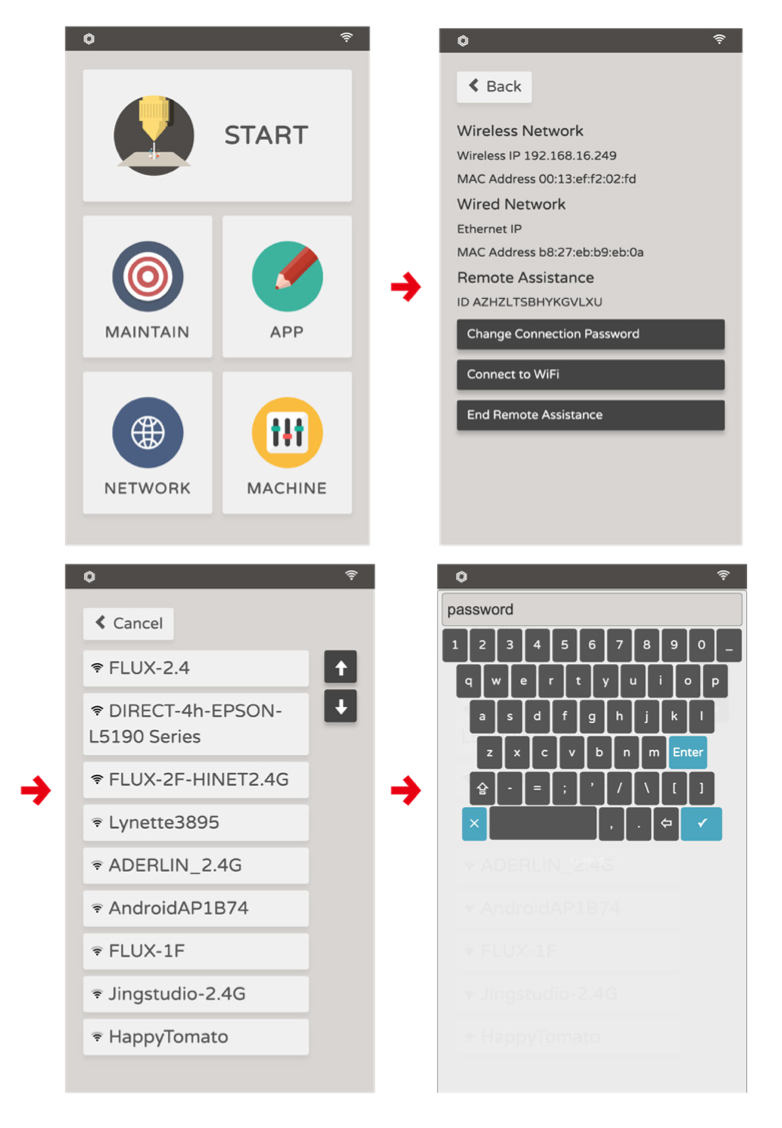
2.5. Setting up the Wi-Fi
Toggle the main switch on the back and press the power button to turn the machine on. It takes
about 1 minute to start up. Touch panel: Internet > WiFi Settings > Select Wi-Fi Name > Enter Wi-Fi Password. The wireless IP address indicates the Internet setting is done. Restart the machine when it's done, to check if the machine can automatically connect to the network.
*Note: The clear plastic sheet over the screen panel can be removed.
Troubleshooting: Connection Issue
If you don't have a Wi-Fi router, consider Directly Connect with a Network Cable.
3. Filling the Water Tank
WARNING: FILL the water tank before the first laser work. Insufficient water in the cooling system will damage the laser tube.
Video Instruction:
The followings is steps-by-steps instruction.
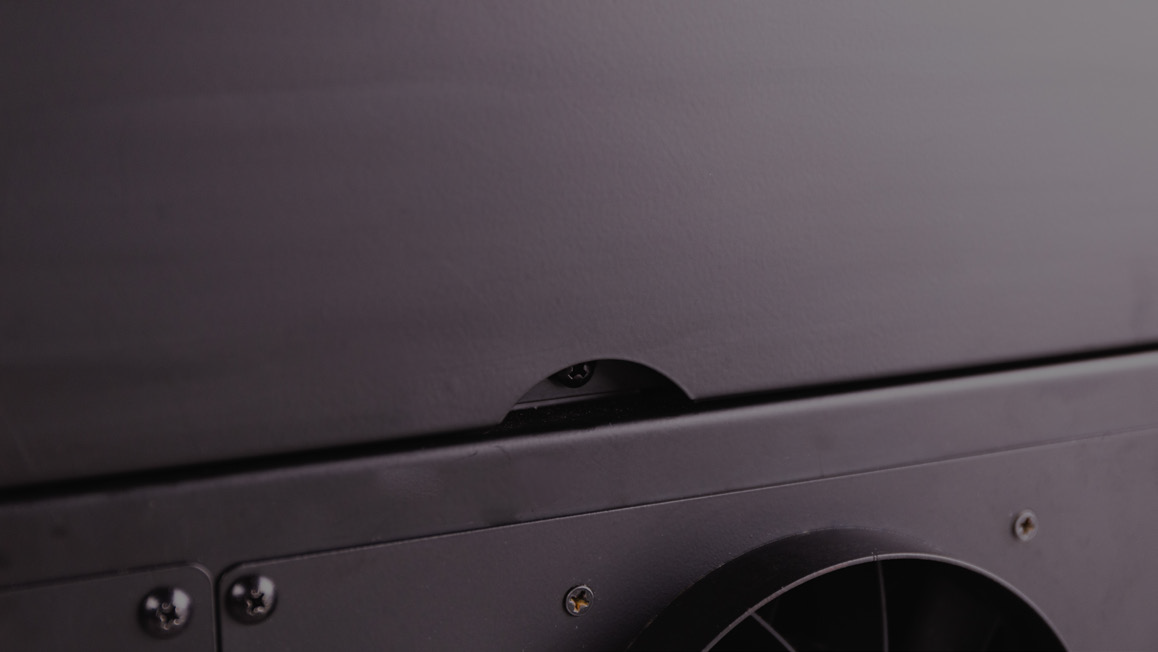
3.1. Remove the screw on the handle of the back lid and open the lid.
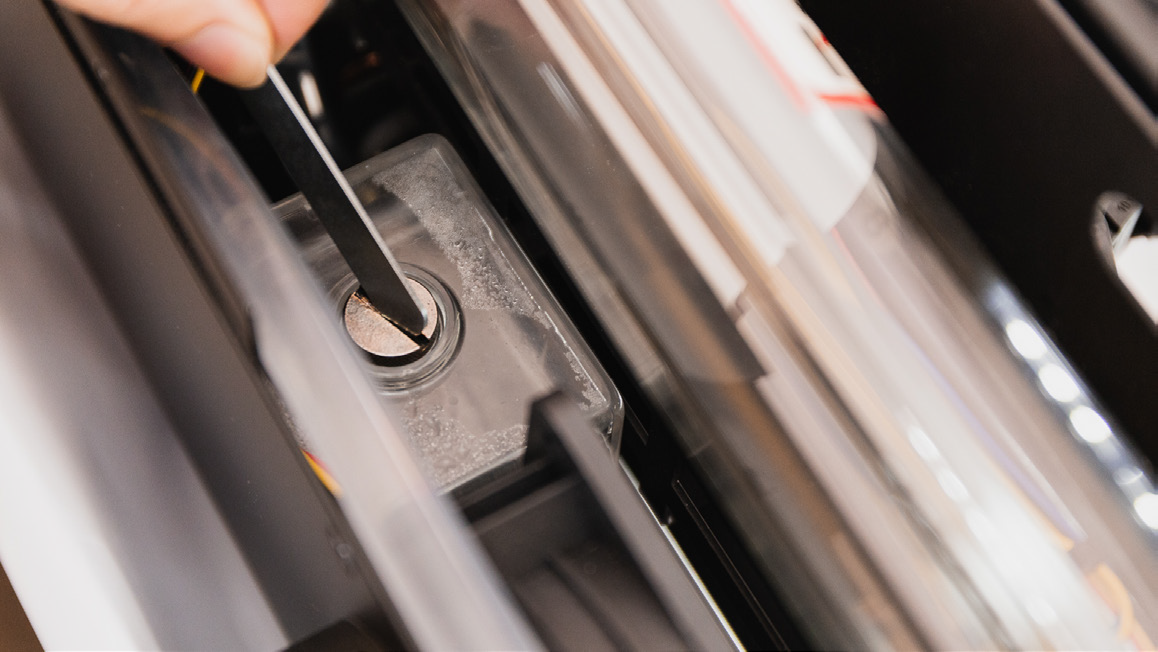
3.2. Open the water tank with the small wrench
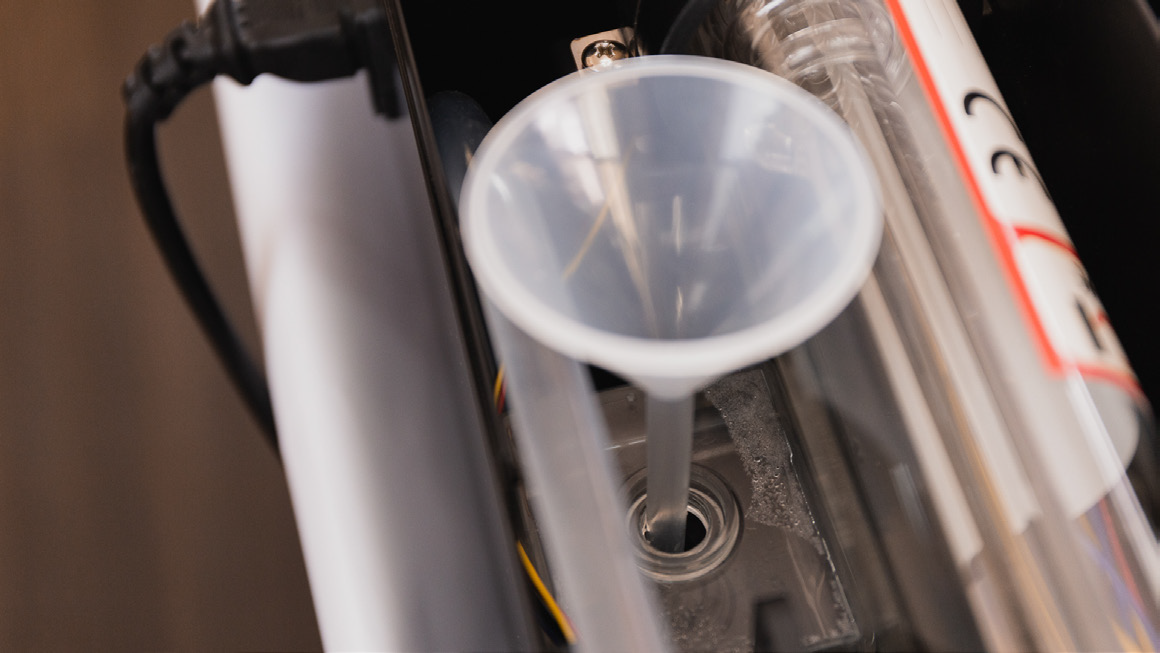
3.3. Fill the tank by a funnel.
Watch the water level carefully to prevent from spilling over. Please use pure water or filtered water.
3.4. Check the Water Level
Touch Panel > Maintenance > Pump. The water in the tank will be pushed into the cooling system. Repeat 3.3, 3.4 until the water level of the tank no longer decreases.
![]() Bubbles sticking in the laser tube may decrease the cooling efficiency. It is recommended to fill the water tank more than 80% to decrease bubble generation.
Bubbles sticking in the laser tube may decrease the cooling efficiency. It is recommended to fill the water tank more than 80% to decrease bubble generation.
4. Software Installation
4.1. Download the latest Beam Studio
You can download from the FLUX official website.
Windows:
Download the suitable version for your system type.
To check the system type, right click on the “This PC” icon > “Properties” > and find “System type”. Download the x86 version for 32-bit system and x64 version for 64-bit system.
MacOS:
Open the download file and drag the Beam Studio icon into the folder beside.
Find and execute the Beam Studio in the “Application” folder.
4.2. Initiating Settings
Open the Beam Studio from the Desktop or Application folder.
The language setting will pop up on the first run.
Select English > FLUX Beambox / Beambox Pro.
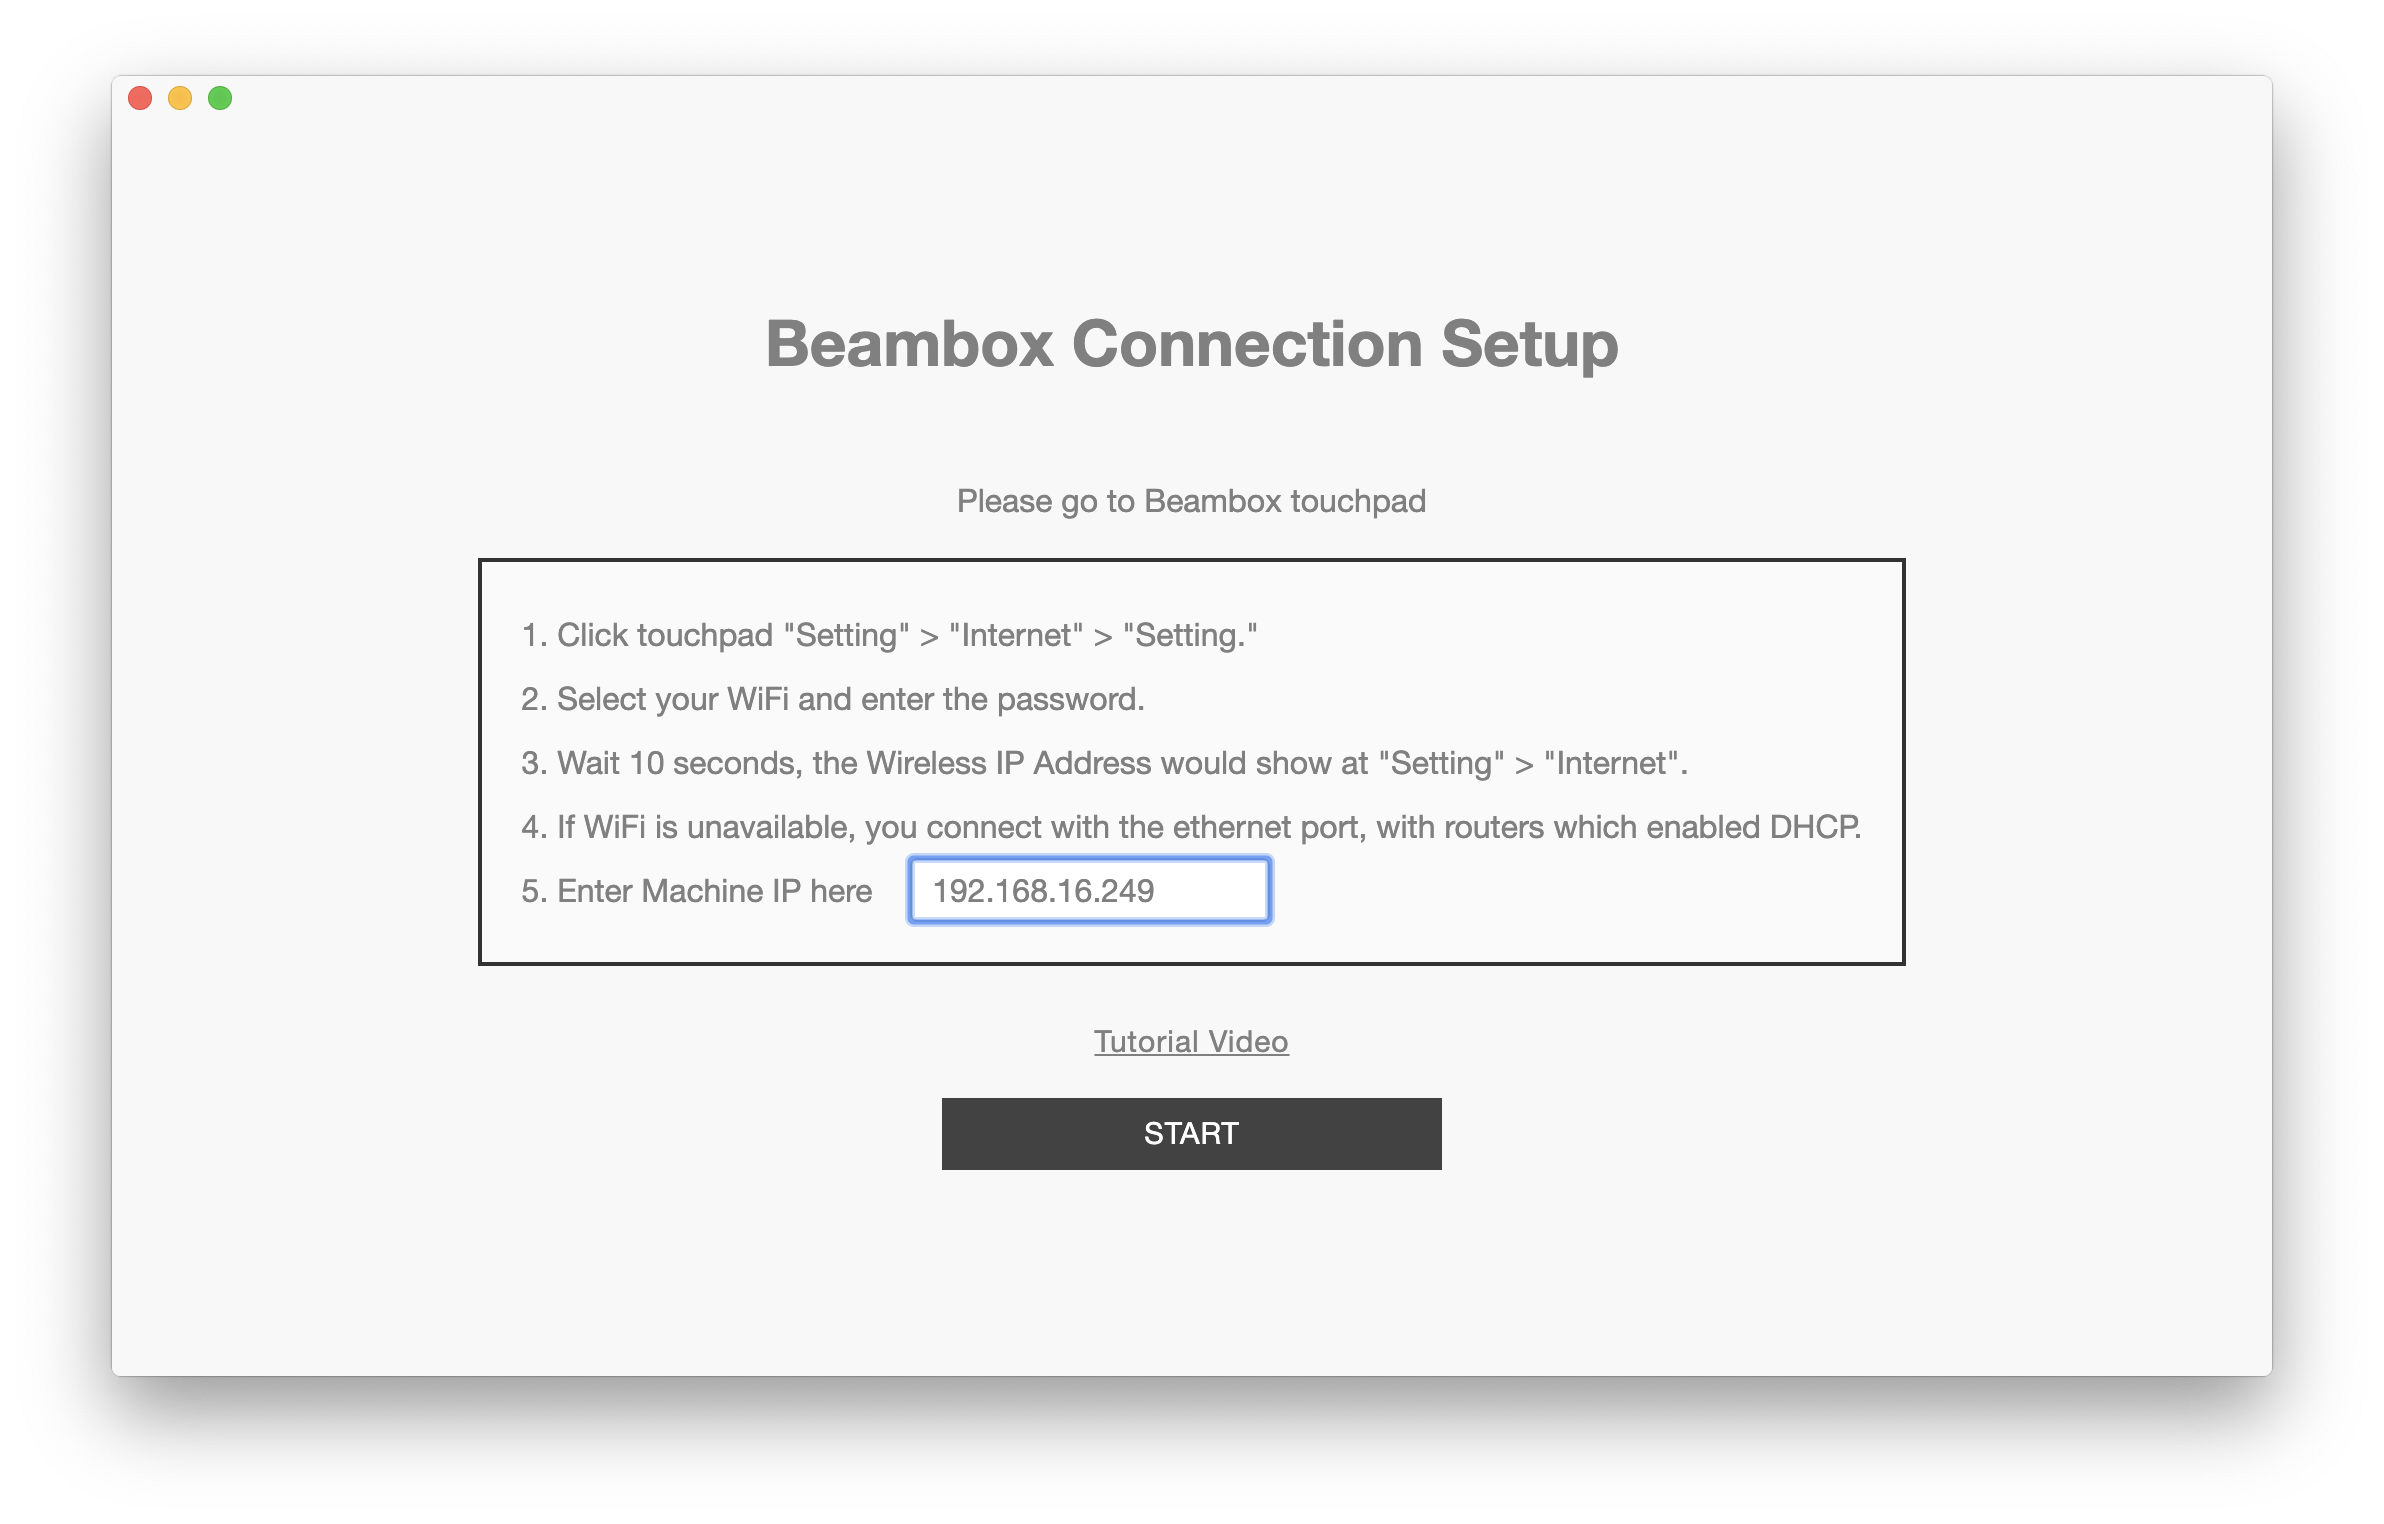
4.3. Fill in the IP
Fill in the IP address shown on the Network page on the touch panel to the software. Then click Start.
4.4. Check Machine Connection
Go to Menu > Machine or click on the camera icon at the bottom left corner to check if the
machine name can be found.
Each machine will be named randomly, you can change it later.
If you can't find the machine in the Menu, check Troubleshooting: Connection Issue.
💡If the initial settings window was skipped, click menu > Machine > Machine Setup
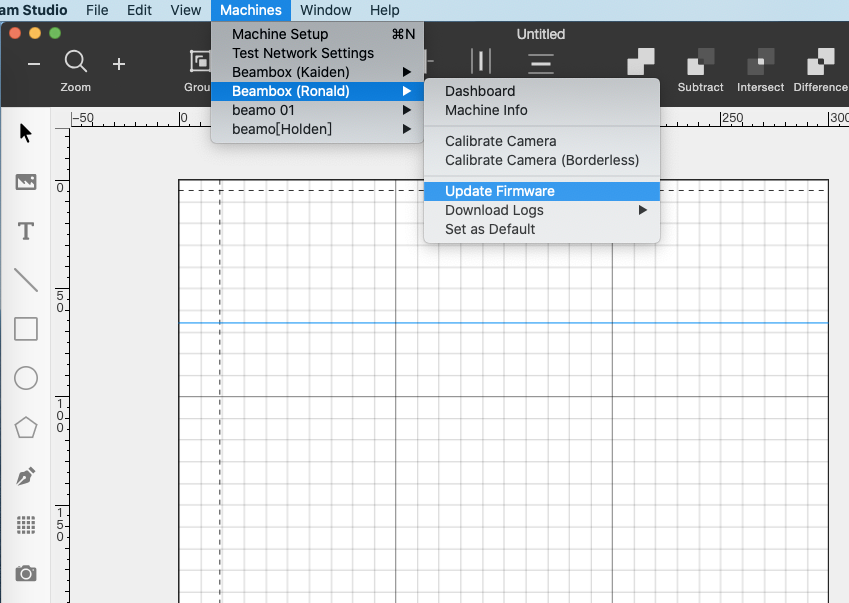
4.5. Update Firmware
Select Beam Studio > Machine > (your machine) > Update firmware to update the firmware to the latest version.
If your machine's firmware version is less than 3.2.0, it is recommend to update the firmware at the time. If your firmware version >= 3.2.0, you can skip this step.
You may choose online update or upload the latest firmware download from the website.

5. First Task
5.1. Adjust Focus
Engage the focus probe downward.
Rotate the level adjustment knob to move the platform up and down.
Make the surface of the workpiece slightly touches the end of the probe so the height is on the right focus.
Then retract the focus when the adjustment is done.
💡Check the focus before each task.
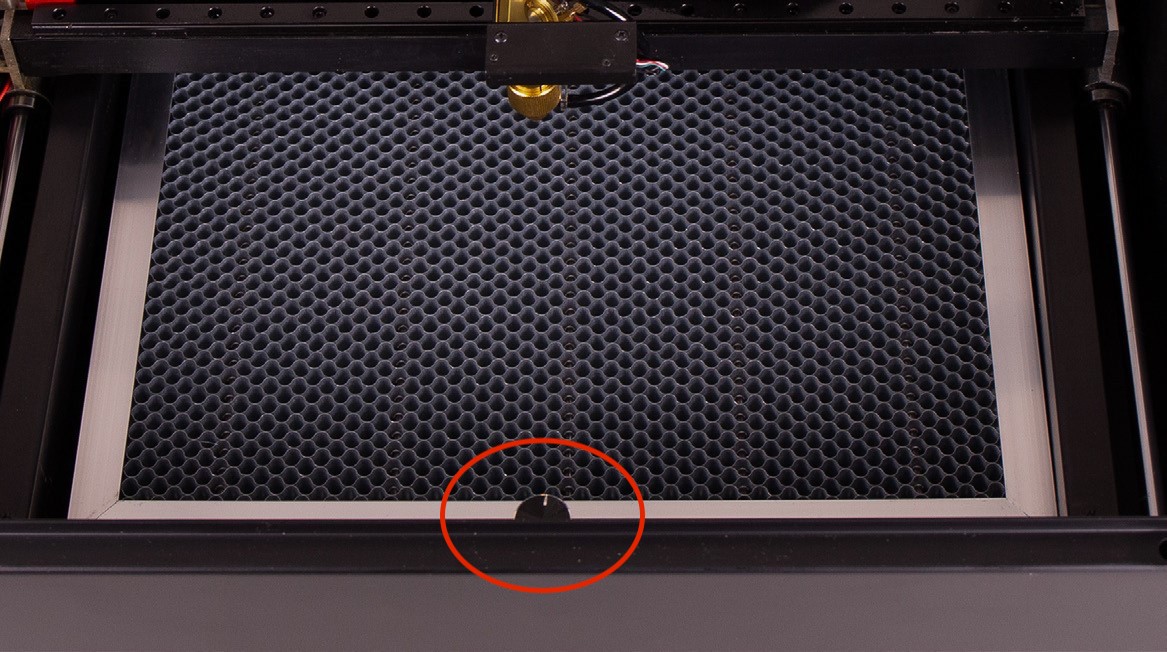
▲ Rotate the level adjustment knob
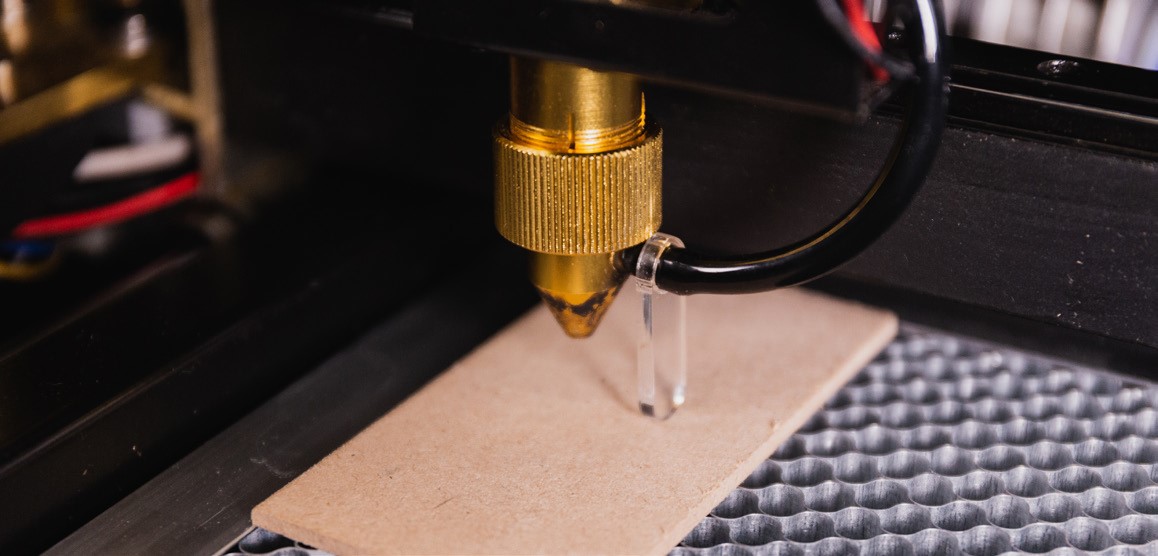
▲ The probe should precisely touches the surface of the material
💡 If the probe is broken, you may download the dxf file here and make one by yourself. We would recommend using 3mm acrylic for cutting.
Note: Under circumstances without the focus probe, to make sure the object is in focus, you can use "US quarters *6" or "Euro 0.5 *5", which should be equivalent to 12mm (focus distance). Other objects close to this number is viable as well.
5.2. Camera Preview
Click on ![]() and select your machine. Start previewing when the cursor becomes
and select your machine. Start previewing when the cursor becomes ![]() . Single click on a specific location or drag an area to preview the workarea. Click on
. Single click on a specific location or drag an area to preview the workarea. Click on ![]() again or press ESC to leave preview mode.
again or press ESC to leave preview mode.
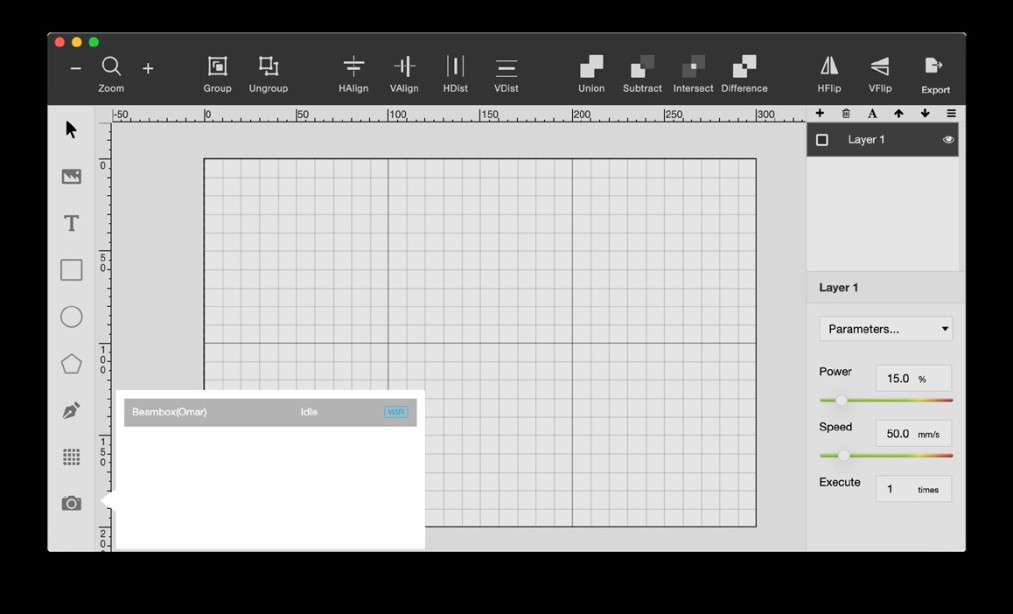
▲ Click on ![]() and select your machine.
and select your machine.
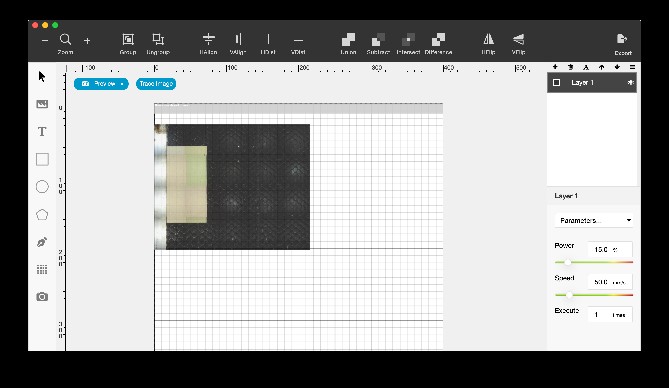
▲ Single click or drag an area
💡If you can't find the machine in the Menu, check Troubleshooting: Connection Issue.
5.3 Import the Test File
Click on menu > File > Samples > Example of Beambox.
Click on Export, select your machine and click Start to start the task.
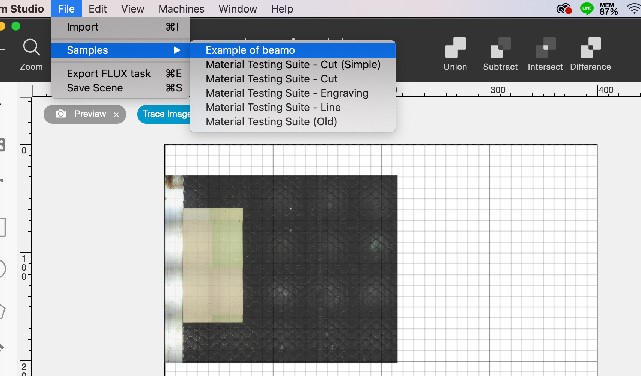
▲ Import the Test File
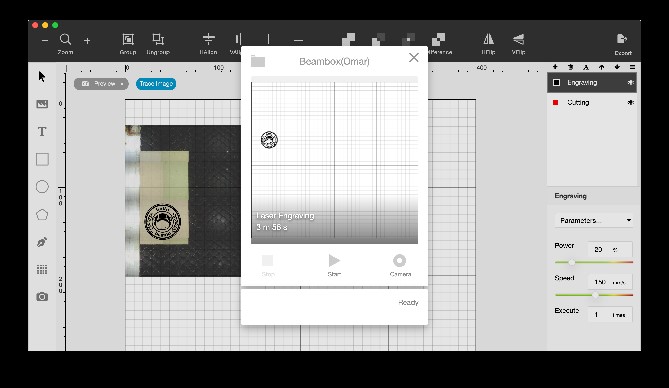
▲ Click on Start to start the task
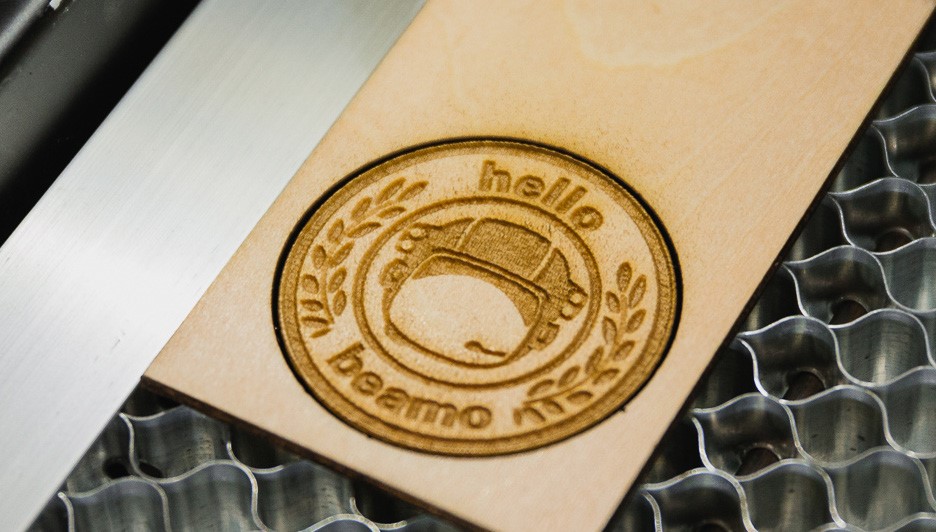
5.4 Engraving Result
If the result is too light or blurry, please check if the focus is just right.
If the focus is right but the result is poor, please recheck the optical path. See "Optical Path Adjustment".
If the position of the result varies with the camera preview, please recheck the focus or see "Camera Alignment Issue".